Azulejo Tile Painting Fundamentals
Master the centuries-old technique of hand-painting traditional Portuguese tiles. Learn pattern design, color mixing, and brush techniques used by artisans for generations.
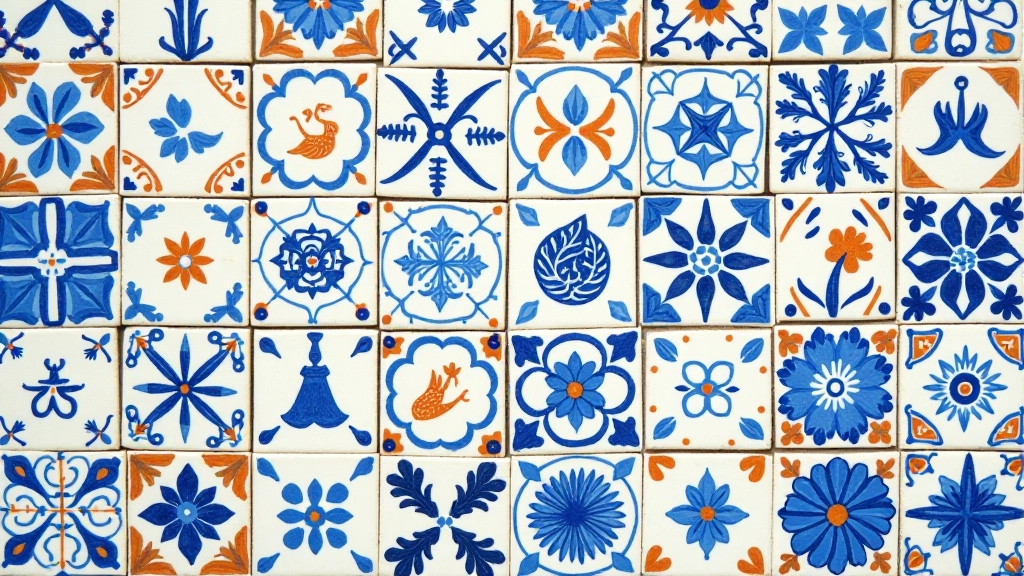
A Living Tradition
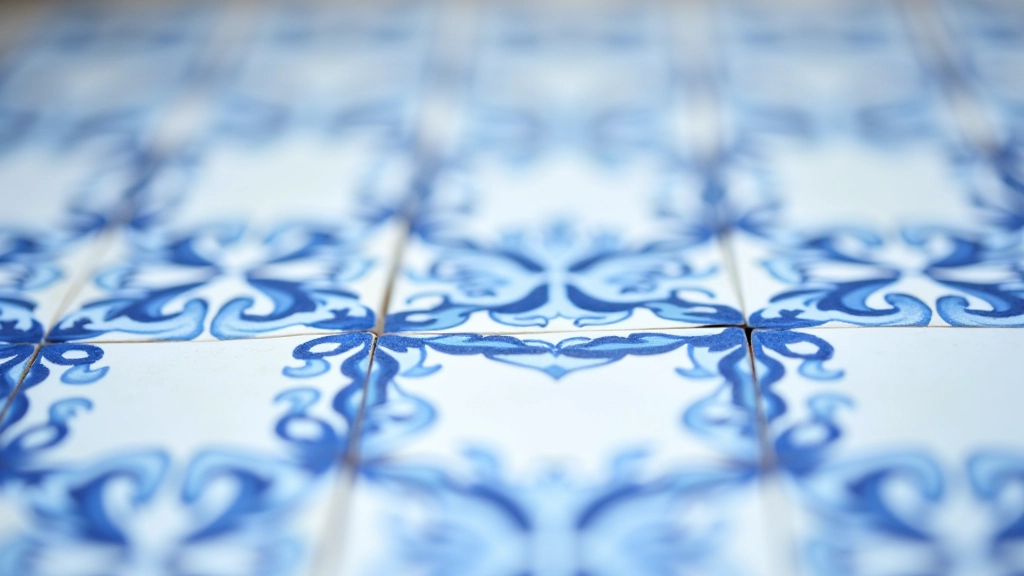
Portuguese azulejo tiles aren't just decoration — they're storytelling. For over 500 years, artisans have been hand-painting these ceramic squares with cobalt blues, ochres, and creams, creating patterns that cover everything from cathedral walls to kitchen backsplashes. What makes this craft so special isn't complicated technique or expensive materials. It's the patience. It's understanding how a single brushstroke becomes part of something bigger.
You don't need years of art school to start. Most beginners see real progress in their first few sessions — better brush control, steadier hands, a feel for how colors interact on glazed ceramic. The fundamentals we'll cover here are exactly what traditional Portuguese workshops have been teaching for generations.
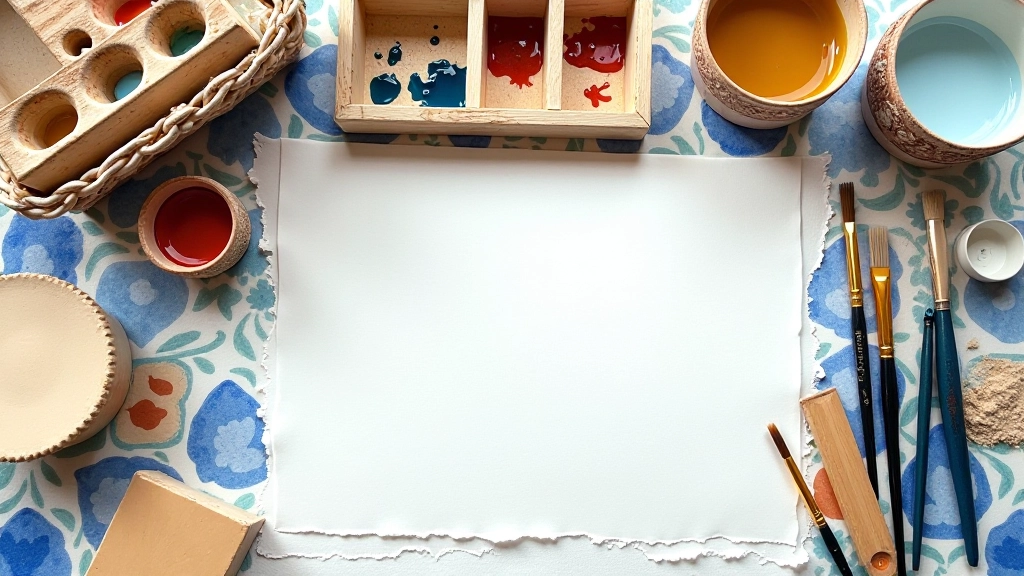
What You'll Actually Need
Here's what surprises people: you don't need fancy equipment. Portuguese artisans work with simple, practical tools that've been the same for centuries. A good brush matters more than having twenty brushes. The right consistency of paint matters more than owning every color.
- Brushes: Flat synthetic brushes in sizes 6, 10, and 14. Round detail brushes for fine lines. They'll last years if you rinse them properly.
- Paint: Ceramic glazes designed for tile. Cobalt blue, white, ochre yellow, and burnt sienna cover 80% of traditional patterns. Mix your own colors rather than buying pre-mixed sets.
- Tiles: Unglazed ceramic tiles (roughly 10cm x 10cm) are standard. They're porous enough to hold paint without sliding around.
- Surface: A smooth work table, ceramic palette, water containers. Nothing exotic — basically what you'd use for watercolor painting.
Total startup cost is around 40-60 euros if you're starting from zero. You're not investing in art supplies — you're investing in practice.

The Core Techniques
Paint consistency is everything. Your glaze should flow like cream, not water. Too thick and your brushstrokes won't blend. Too thin and you'll need five coats. Spend time getting this right before you even touch a tile.
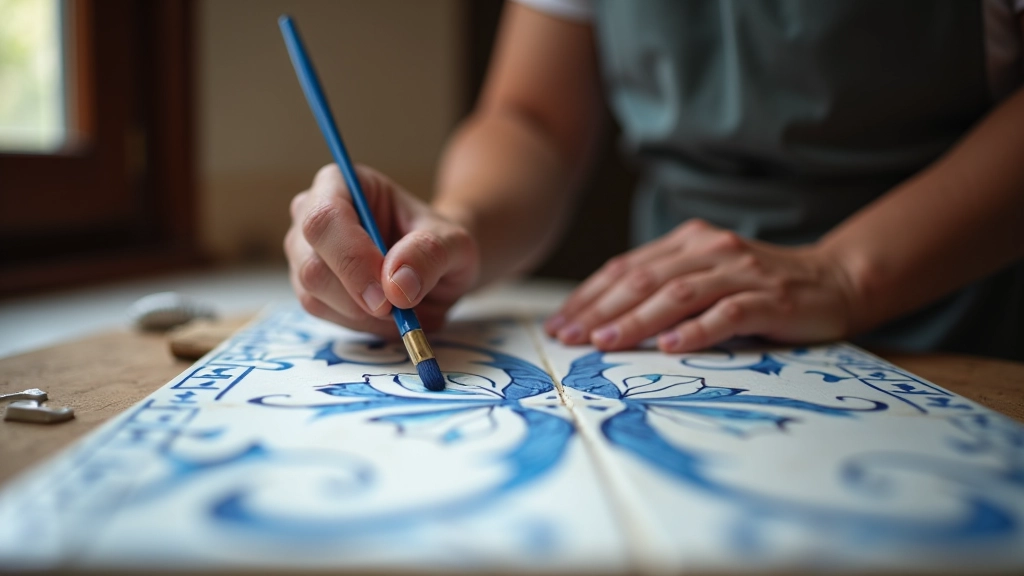
Brush control: Hold the brush loosely. Your wrist does the work, not your fingers. When you're painting a line, you're not pushing — you're letting the paint flow. Most beginners grip the brush too tightly, which creates shaky, hesitant marks. Relax. Your hand's been doing this movement naturally your whole life — signing your name, writing — this is just slower.
The traditional pattern approach is systematic. You don't fill in random details. You work corner to corner, establish your main lines first, then add finer details. It's like building a sentence — framework first, then description.
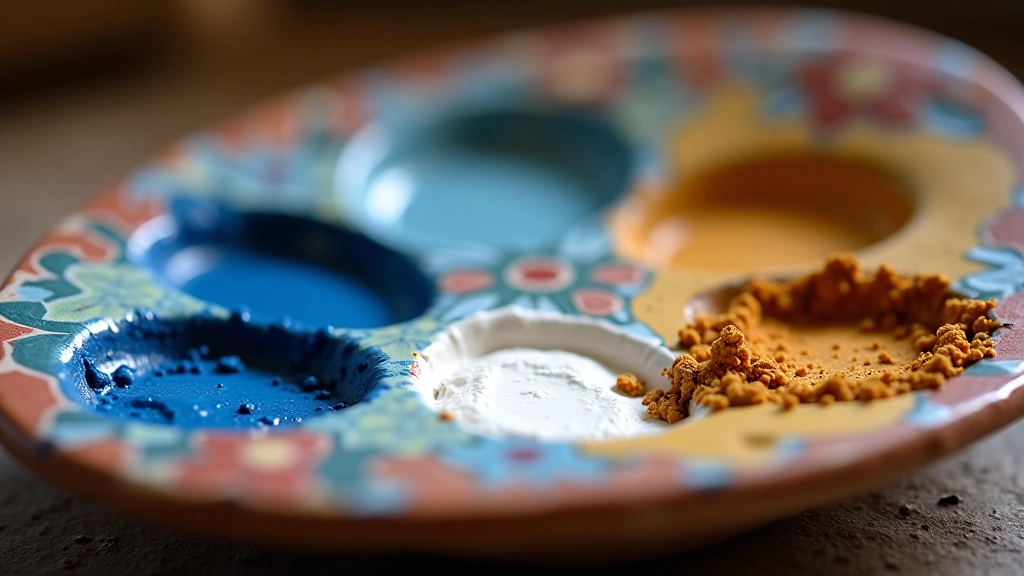
Understanding Color on Ceramic
Color on glazed ceramic behaves differently than on paper. It's more saturated. The white tile base reflects light back through the glaze, making colors appear brighter than they actually are. A blue that looks dark in the pot will be vibrant once it's on the tile.
Traditional Portuguese azulejo uses a limited palette for good reason. Cobalt blue was expensive and reliable. Ochre yellows came from natural earth pigments. White provided contrast. These aren't arbitrary choices — they're the result of centuries of artisans figuring out what actually works on ceramic, what lasts, what stays true to color through firing.
Start by mixing ratios rather than matching exact colors. If you can mix a blue that's darker or lighter than your reference by adjusting white, you're developing the core skill. Most patterns only use 3-4 colors total. You don't need complexity — you need consistency and control.
Getting Started With Your First Tile
Don't start with an original design. Seriously. Copy traditional patterns. This isn't cheating — it's how every Portuguese artisan learned. You're training your hand and eye, not proving you're creative. That comes later.
Choose a pattern with clear main lines. Something with a border frame and a central motif. Paint the border first — this gives you a framework. Your lines will be steadier because they have a defined start and end point. Then move to the center detail work.
Your first tile will probably look rough. That's normal. Most people see noticeable improvement by their third or fourth tile. By tile 10, you'll be able to paint patterns that look genuinely skilled. This isn't exaggeration — it's just practice. One hour a week, consistently, for eight weeks. You'll be shocked at the difference.
The Essential Takeaways
Consistency Over Creativity
Master traditional patterns before inventing your own. The constraints of established designs teach you the fundamentals. You'll innovate better once you understand why these patterns work.
Paint Preparation Matters Most
Getting your glaze consistency right takes more time than actual painting. Invest in this step. Test on scrap tiles. It's not boring — it's essential foundation work.
Practice Beats Talent
Eight weeks of regular practice produces better results than natural ability without repetition. The Portuguese artisans who created masterpieces weren't geniuses — they were people who painted hundreds of tiles.
Ready to Begin Your Azulejo Journey?
The fundamentals you've learned here are exactly what Portuguese workshops teach. Start with simple materials, copy traditional patterns, and paint consistently. You'll be amazed at what your hands can create in just a few weeks. Explore our other textile arts courses to deepen your craft knowledge.
Explore All Textile ArtsEducational Information
This guide is informational and educational in nature. While we've covered traditional techniques and best practices, individual results vary based on materials, practice frequency, and personal learning pace. Always follow safety guidelines when working with ceramics and glazes. Consult with experienced instructors in your area for hands-on guidance tailored to your specific circumstances.