Traditional Embroidery & Needlework Techniques
Master Portuguese embroidery stitches passed down through generations. You'll work with authentic patterns and natural linens while developing precision and creative expression.
Why Embroidery Matters
There's something deeply satisfying about taking a single thread and transforming it into something beautiful. Portuguese embroidery isn't just about creating decorative pieces — it's about understanding rhythm, patience, and the connection between your hands and a centuries-old tradition.
These techniques have been refined over generations. Each stitch tells a story about the regions they come from, whether it's the bold geometric patterns of Viana do Castelo or the delicate floral work of Madeira. When you learn these methods, you're not just learning a skill — you're becoming part of that heritage.
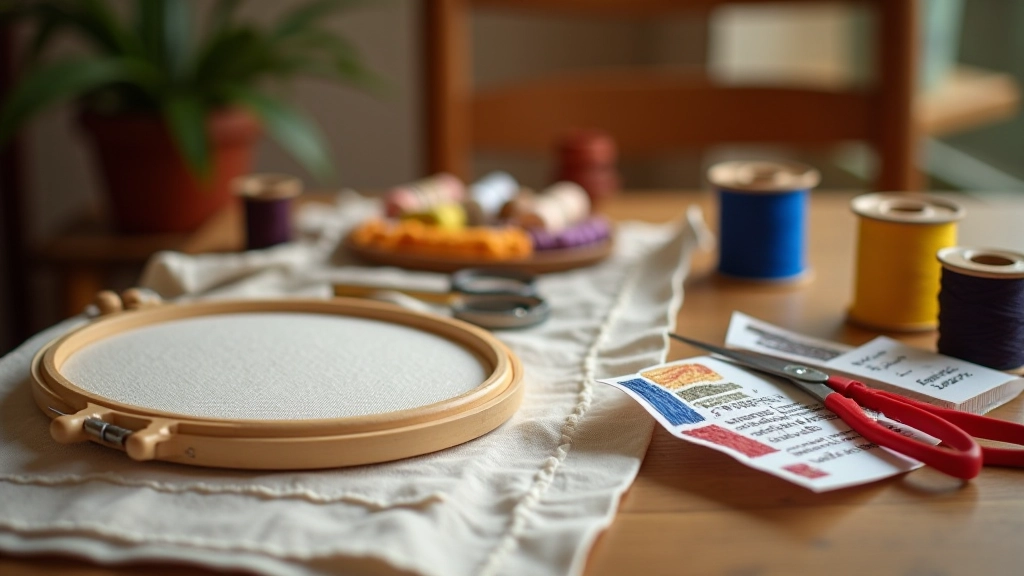
Essential Tools & Materials
You don't need much to get started. A good embroidery hoop (18-25cm diameter works for most projects), quality needles in sizes 5-9, and natural linen or cotton fabric are the basics. The thread matters more than people realize — we use 100% cotton floss because it's traditional and produces that authentic sheen Portuguese embroidery is known for.
One thing that makes a real difference: invest in proper lighting. You're working with small stitches, often for 2-3 hours at a time. Bad lighting leads to eye strain and sloppy work. A simple desk lamp positioned to the side of your work prevents shadows and makes everything clearer.
- Embroidery hoop (18-25cm)
- Needles (sizes 5, 7, 9)
- 100% cotton floss in traditional colors
- Natural linen or cotton fabric
- Scissors and thimble
Core Stitches You'll Master
Portuguese embroidery relies on a surprisingly small number of core stitches, but each one has variations and applications. The cross-stitch is your foundation — it's the building block of most traditional patterns. What makes Portuguese cross-stitch distinctive is the rhythm: you're working in rows, and once you find your pace, your hands move almost automatically while your mind focuses on the pattern emerging.
The backstitch creates outlines and fine details. You'll use it for facial features in figurative work, for borders, and for defining shapes. Satin stitch fills larger areas with a smooth, glossy finish. It looks simple but requires patience — the tension in each stitch needs to be consistent, or the filled area looks uneven. Split stitch works beautifully for curves and gives you more control than backstitch when you need precision.
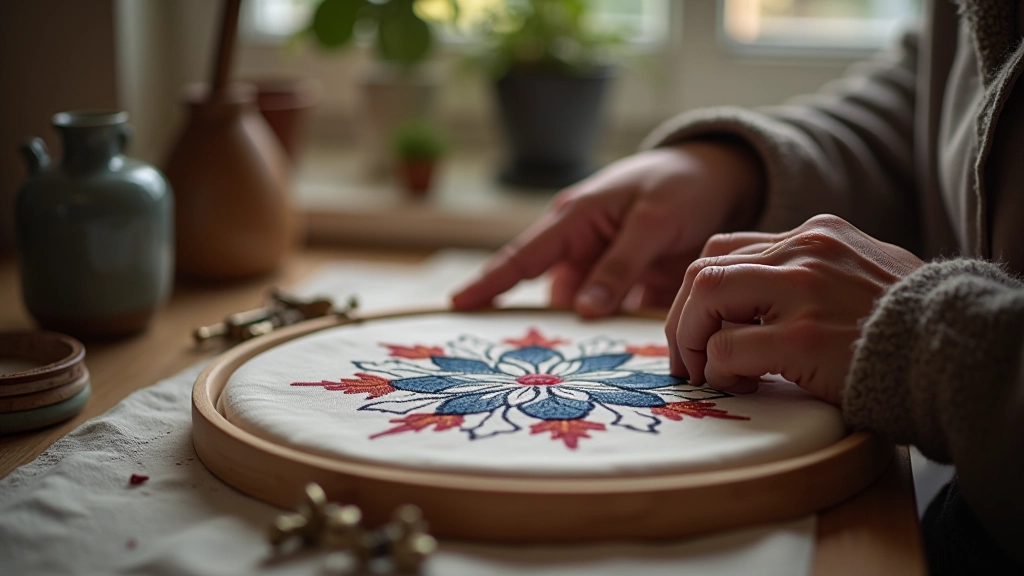
Getting Started with Cross-Stitch
Most people can produce recognizable cross-stitches within 15 minutes. The real skill develops over weeks — achieving consistent tension, maintaining even spacing, and building speed without sacrificing quality. You'll probably complete your first small project (a 10x10cm sample) in about 3-4 hours. That might sound like a long time, but those hours teach your hands the muscle memory they need.
Your Learning Path
The progression is deliberate and builds naturally. You're not rushing to finish a project — you're developing skills that'll stick with you.
Foundation Week
Understand how to hold the needle, tension basics, and how to read patterns. You'll practice on waste fabric, building muscle memory without pressure.
Core Techniques
Master cross-stitch, backstitch, and split stitch through guided practice. You'll complete your first small project — something you'll actually want to keep.
Pattern Work
Apply techniques to larger traditional patterns. You'll work on a piece that takes 8-12 hours, learning how to maintain quality across a longer project.
Advanced Details
Explore specialty stitches, color blending, and creating your own designs based on traditional patterns. This is where embroidery becomes your creative outlet.
Building Your Practice Routine
Consistency beats intensity. You'll develop faster working 30-45 minutes four times a week than cramming in one 8-hour session. Your hands need time to remember what they learned, and that happens during the days between practice sessions.
Set up a dedicated space if you can — somewhere you can leave your work in progress without having to pack it up and unpack it again. Having your materials accessible makes it easier to sit down and actually practice. Most people who struggle with embroidery aren't lacking talent, they're lacking routine. They do it sporadically, lose momentum, and then forget techniques they'd already learned.
Don't be discouraged by mistakes. Every embroiderer — even the ones who've been doing this for decades — makes mistakes. The skill is knowing when to fix it immediately and when to just keep going. Sometimes a slightly imperfect stitch blends into the overall design. Sometimes you need to pick it out and start that section over. You'll develop judgment about which approach makes sense.
Finding Your Style Within Tradition
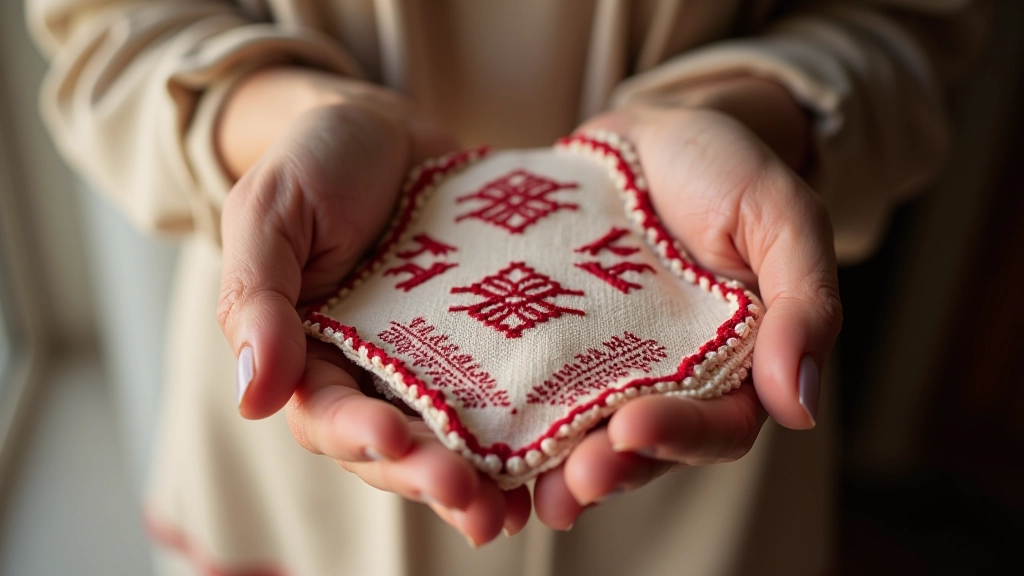
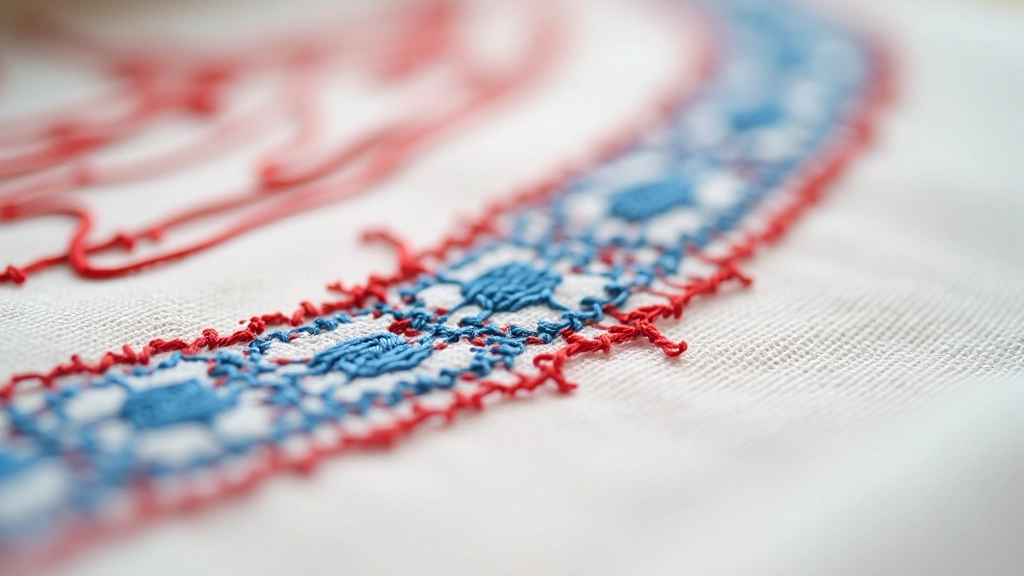
Viana Patterns
Bold geometric designs with bright primary colors. These patterns are striking and relatively forgiving for beginners because the bold stitches hide minor imperfections.
Madeira Whitework
Delicate designs using white thread on white linen. The beauty comes from texture and shadow. It's more advanced but produces incredibly elegant pieces.
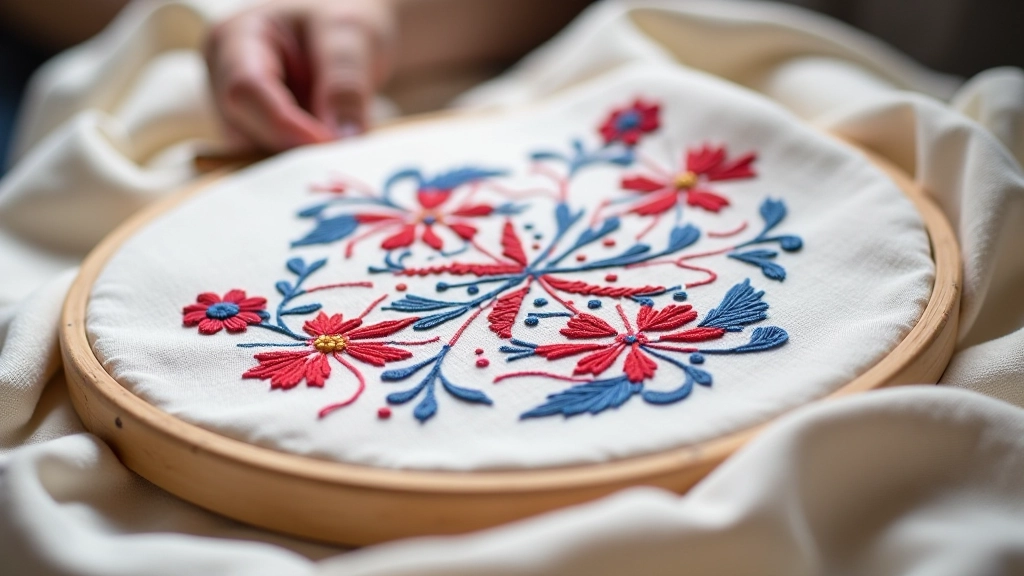
Minho Floral
Naturalistic flowers and plants. You'll use color blending and layering techniques. This style lets you express creativity while staying grounded in tradition.
The beauty of learning traditional techniques is that once you master the fundamentals, you're free to develop your own voice. You might prefer working in a single color, or you might love complex multicolored designs. You might be drawn to geometric patterns or naturalistic imagery. The foundation you build gives you the skills to explore all of it.
Start Your Journey
Portuguese embroidery isn't difficult, but it does require showing up and putting in the time. That's actually one of its greatest gifts. In a world of constant stimulation and distraction, embroidery asks you to slow down, focus, and create something with your hands. The meditation is part of the practice.
You don't need special talent or years of experience to start. You need a needle, thread, fabric, and willingness to learn. Everything else builds from there. Within weeks you'll be creating pieces that surprise you. Within months you'll have developed a practice that becomes part of your routine. Within a year, you'll understand why these techniques have survived for centuries.
Ready to Learn?
Join our embroidery workshops and learn directly from experienced instructors. Small groups, hands-on guidance, and all materials provided.
Get in Touch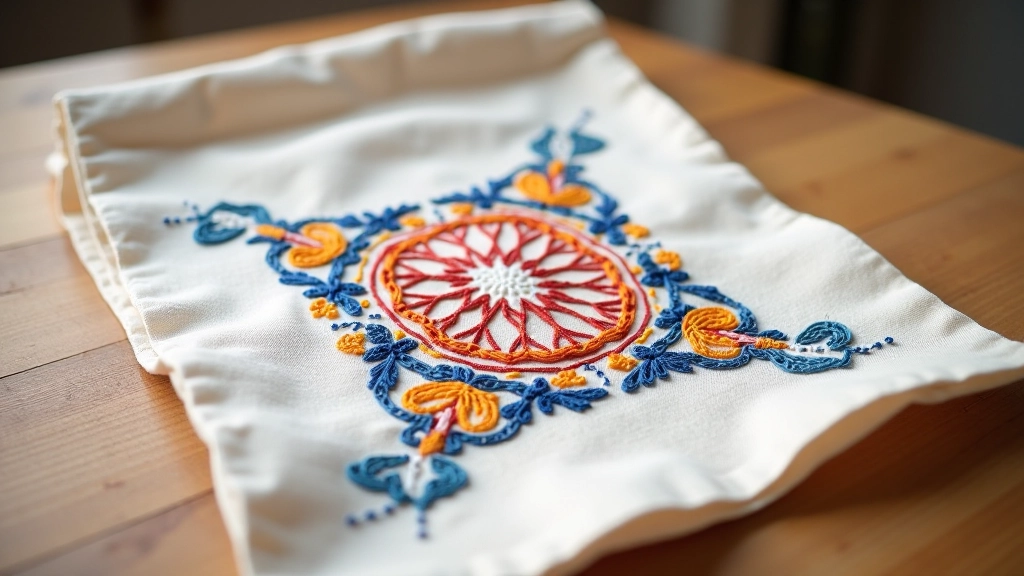
About This Guide
This article is educational information about traditional Portuguese embroidery techniques and learning approaches. While these techniques are based on centuries of practice, individual results vary based on practice, dedication, and personal learning pace. The timelines mentioned (3-4 hours for a first project, weeks to develop consistency) reflect typical experiences but aren't guarantees. We recommend learning in person or with detailed video instruction for best results, as hands-on guidance helps with tension, positioning, and technique refinement.